Posted by Nicky Smol on September 28, 2022 in Other news
How to apply Solasflex Retro Reflective tape – When it comes to safety at sea, visibility is key. That is why we offer a large range of Solas Maritime safety tapes. In this article, we would like to tell you more about our Solas Retro Reflective tapes, and in particular, how you can apply them to make your vessel a safer place.
The Solasflex Retro Reflective tape is one of our best-selling tapes. The tape enhances the visibility of many different safety products in the Maritime Industry, but can also be used for other industries. The Reflective tape reflects any light and amplifies it to provide enhanced night-time reflected visible brightness in dark areas, especially poorly lit areas. Our SolasFlex Retro Reflective Tape is type II approved according to IMO A658(16).
When reflective tapes are type II, it means it can be used indoors as well as outdoors. Type II reflective tapes are suitable for all applications, extreme weather conditions, and continuous outdoor exposure.
Knowing if your reflective tape is type I or II is very important because type I can only be used indoors. Type I reflective tapes will discolor within a few weeks. Unfortunately, not all sellers of reflective tapes are clear about the quality of their tape.
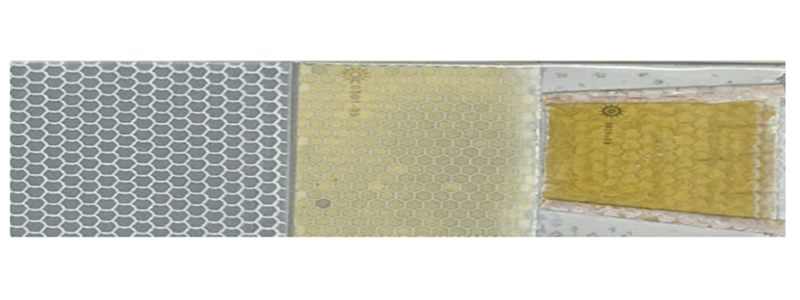
The image below shows 3 different tapes that have been used in an outdoor setting. From left to right: a type II reflective tape, a type I reflective tape used outside, and a fake/unapproved product.
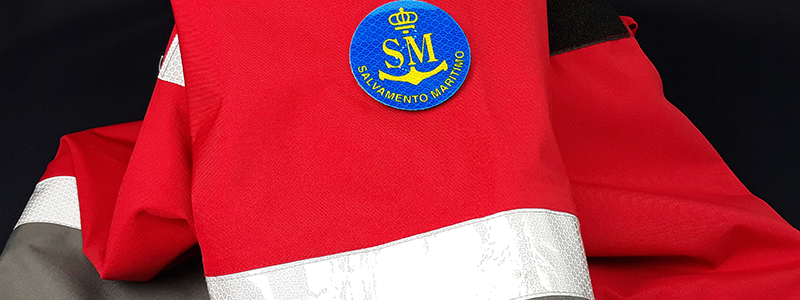
When it comes to the safety of your crew, there is no room for mistakes. That is why certain objects on your vessel should always be highly visible. Our Solasflex Retro Reflective tape can be used for lifeboats, lifebuoys, inflatable lifejackets, and even safety clothing.
To make sure our reflective tapes can be used on all your safety products that need enhanced visibility, it comes in 3 types: tape with an adhesive layer, tape without the adhesive layer (sew stitch possible), and one with an adhesive layer and kiss cut (tear line).
1. Clean the surface carefully.
2. The tape should be installed making sure that these finished surfaces are clear of dirt, dust, and fat.
3. Unroll the material and cut it to fit the area to be glued or stitched on.
4. When installing around a lifebuoy always take an overlap of 5 cm. (Must be above 15 C°)
5. After installing it on the surface the tape should be there for at least 12hrs for perfect adhesion. In case of a contaminated area, it should be cleaned before installing the SOLAS Retro Reflective Tape.
For more information about the Solas Retro Reflective tapes, please check the product page or take a look at the datasheet. If you have specific questions, feel free to contact us.
Quotations can be requested here.
Also available at solastape.com

![]()